PacVIEW Tutorial 2
Docking Results Visualisation Mode
This example will guide a new user through the graphic 3D visualisation of molecules using
PacVIEW - Docking Results Mode. For this tutorial, we will visualise the "re-docking" results of the cryo-electron microscopy structure of the μOR Opioid Receptor-Gi Protein Complex bound to the agonist peptide DAMGO and nucleotide-free Gi with a resolution of 3.5 Å (PDB code: 6DDF). DAMGO is a flexible opioid peptide, which has multiple rotatable bonds. The ligand (damgo) has been separated from the protein-ligand complex structure and then docked back into the target using the docking program HYBRID (OpenEye). The docking program output is composed of five poses of the ligand. This file will be used as our input for PacVIEW. Since we will use the same input as the ProRMSD tutorial, the numerical value of RMSD between poses can be associated with a visualisation of the spatial differences of the docking result compared to the reference pose.
> For more information about PacVIEW, see PacVIEW Documentation.
PacVIEW - Docking Results Mode. For this tutorial, we will visualise the "re-docking" results of the cryo-electron microscopy structure of the μOR Opioid Receptor-Gi Protein Complex bound to the agonist peptide DAMGO and nucleotide-free Gi with a resolution of 3.5 Å (PDB code: 6DDF). DAMGO is a flexible opioid peptide, which has multiple rotatable bonds. The ligand (damgo) has been separated from the protein-ligand complex structure and then docked back into the target using the docking program HYBRID (OpenEye). The docking program output is composed of five poses of the ligand. This file will be used as our input for PacVIEW. Since we will use the same input as the ProRMSD tutorial, the numerical value of RMSD between poses can be associated with a visualisation of the spatial differences of the docking result compared to the reference pose.
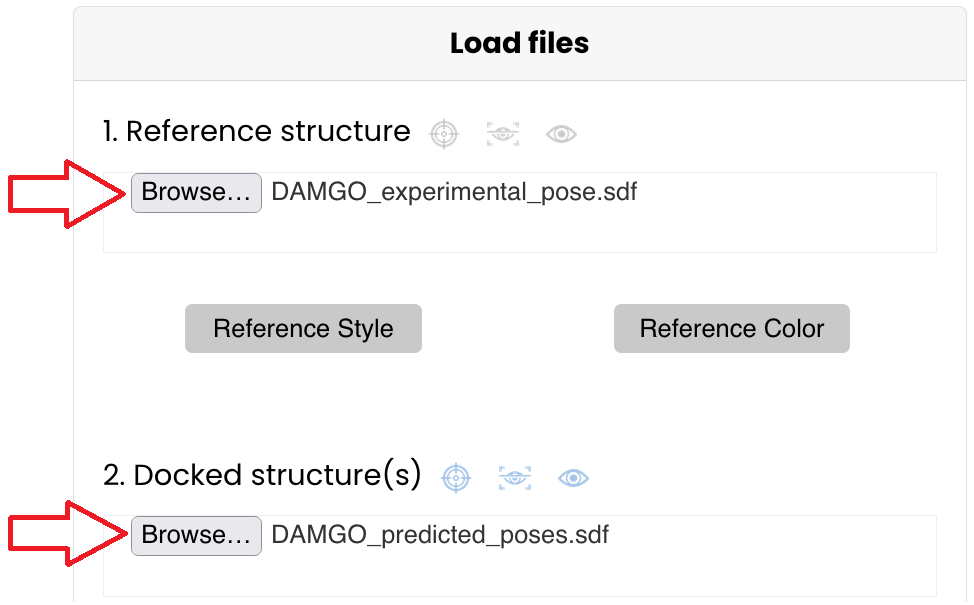
- Download the input files: click on the two files to download them
- Reference structure: DAMGO_experimental_pose.sdf
- Docked structure(s): DAMGO_predicted_poses.sdf
-
Upload these files in the "Load files" section of the tool Click on "Browse..." and select them or drag them in their respective box
- Choose the style and color of the reference structure:
- the button allows you to choose the most appropiate style for the reference structure
- the button allows you to choose the most appropiate color for the reference structure
: click this button to center the visualisation on the reference structure - Visualise the docked structure(s):
: click this button to center the visualisation on the docked structure(s)
: click this button to hide the docked structure(s)
: click this button to display again the docked structure(s) Pay attention: these buttons refer to all the poses loaded present in the file
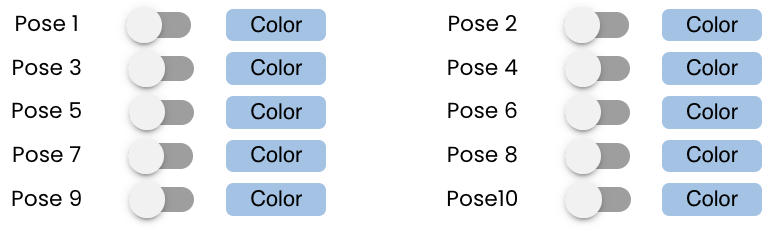
To visualise only one or more specific poses, click on the button to hide all the poses and display those desired -
Visualise one or more specific docked poses: In this tutorial we will investigate the spatial differences between the docked poses and with respect to the reference pose, thus switch the corresponding button to display or hide a specific pose The button allows you to choose a particular color for each docked pose In this exemple, we will display the first pose in blue and the fifth pose in green
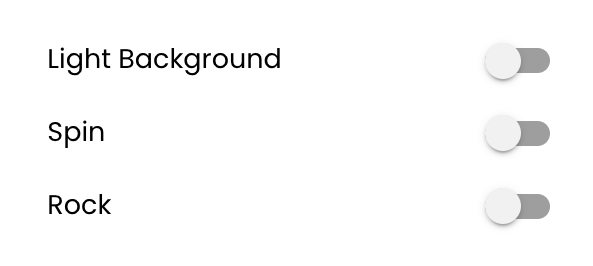
- Choose visualisation options:
- the Light Background switch allows you to change the background from black to white
- the Spin and Rock switches allow you to play two looping animation styles
- Click the button to save an image of the visualised molecules and interactions at different resolutions: Medium Quality and High Quality
- Click the button to enter the full screen mode (and "Esc" on your keyboard to exit the full screen mode)
- Click the button to center the visualisation on all molecules displayed
- Click the button to remove all molecules displayed
: click this button to hide the reference structure
: click this button to display again the reference structure
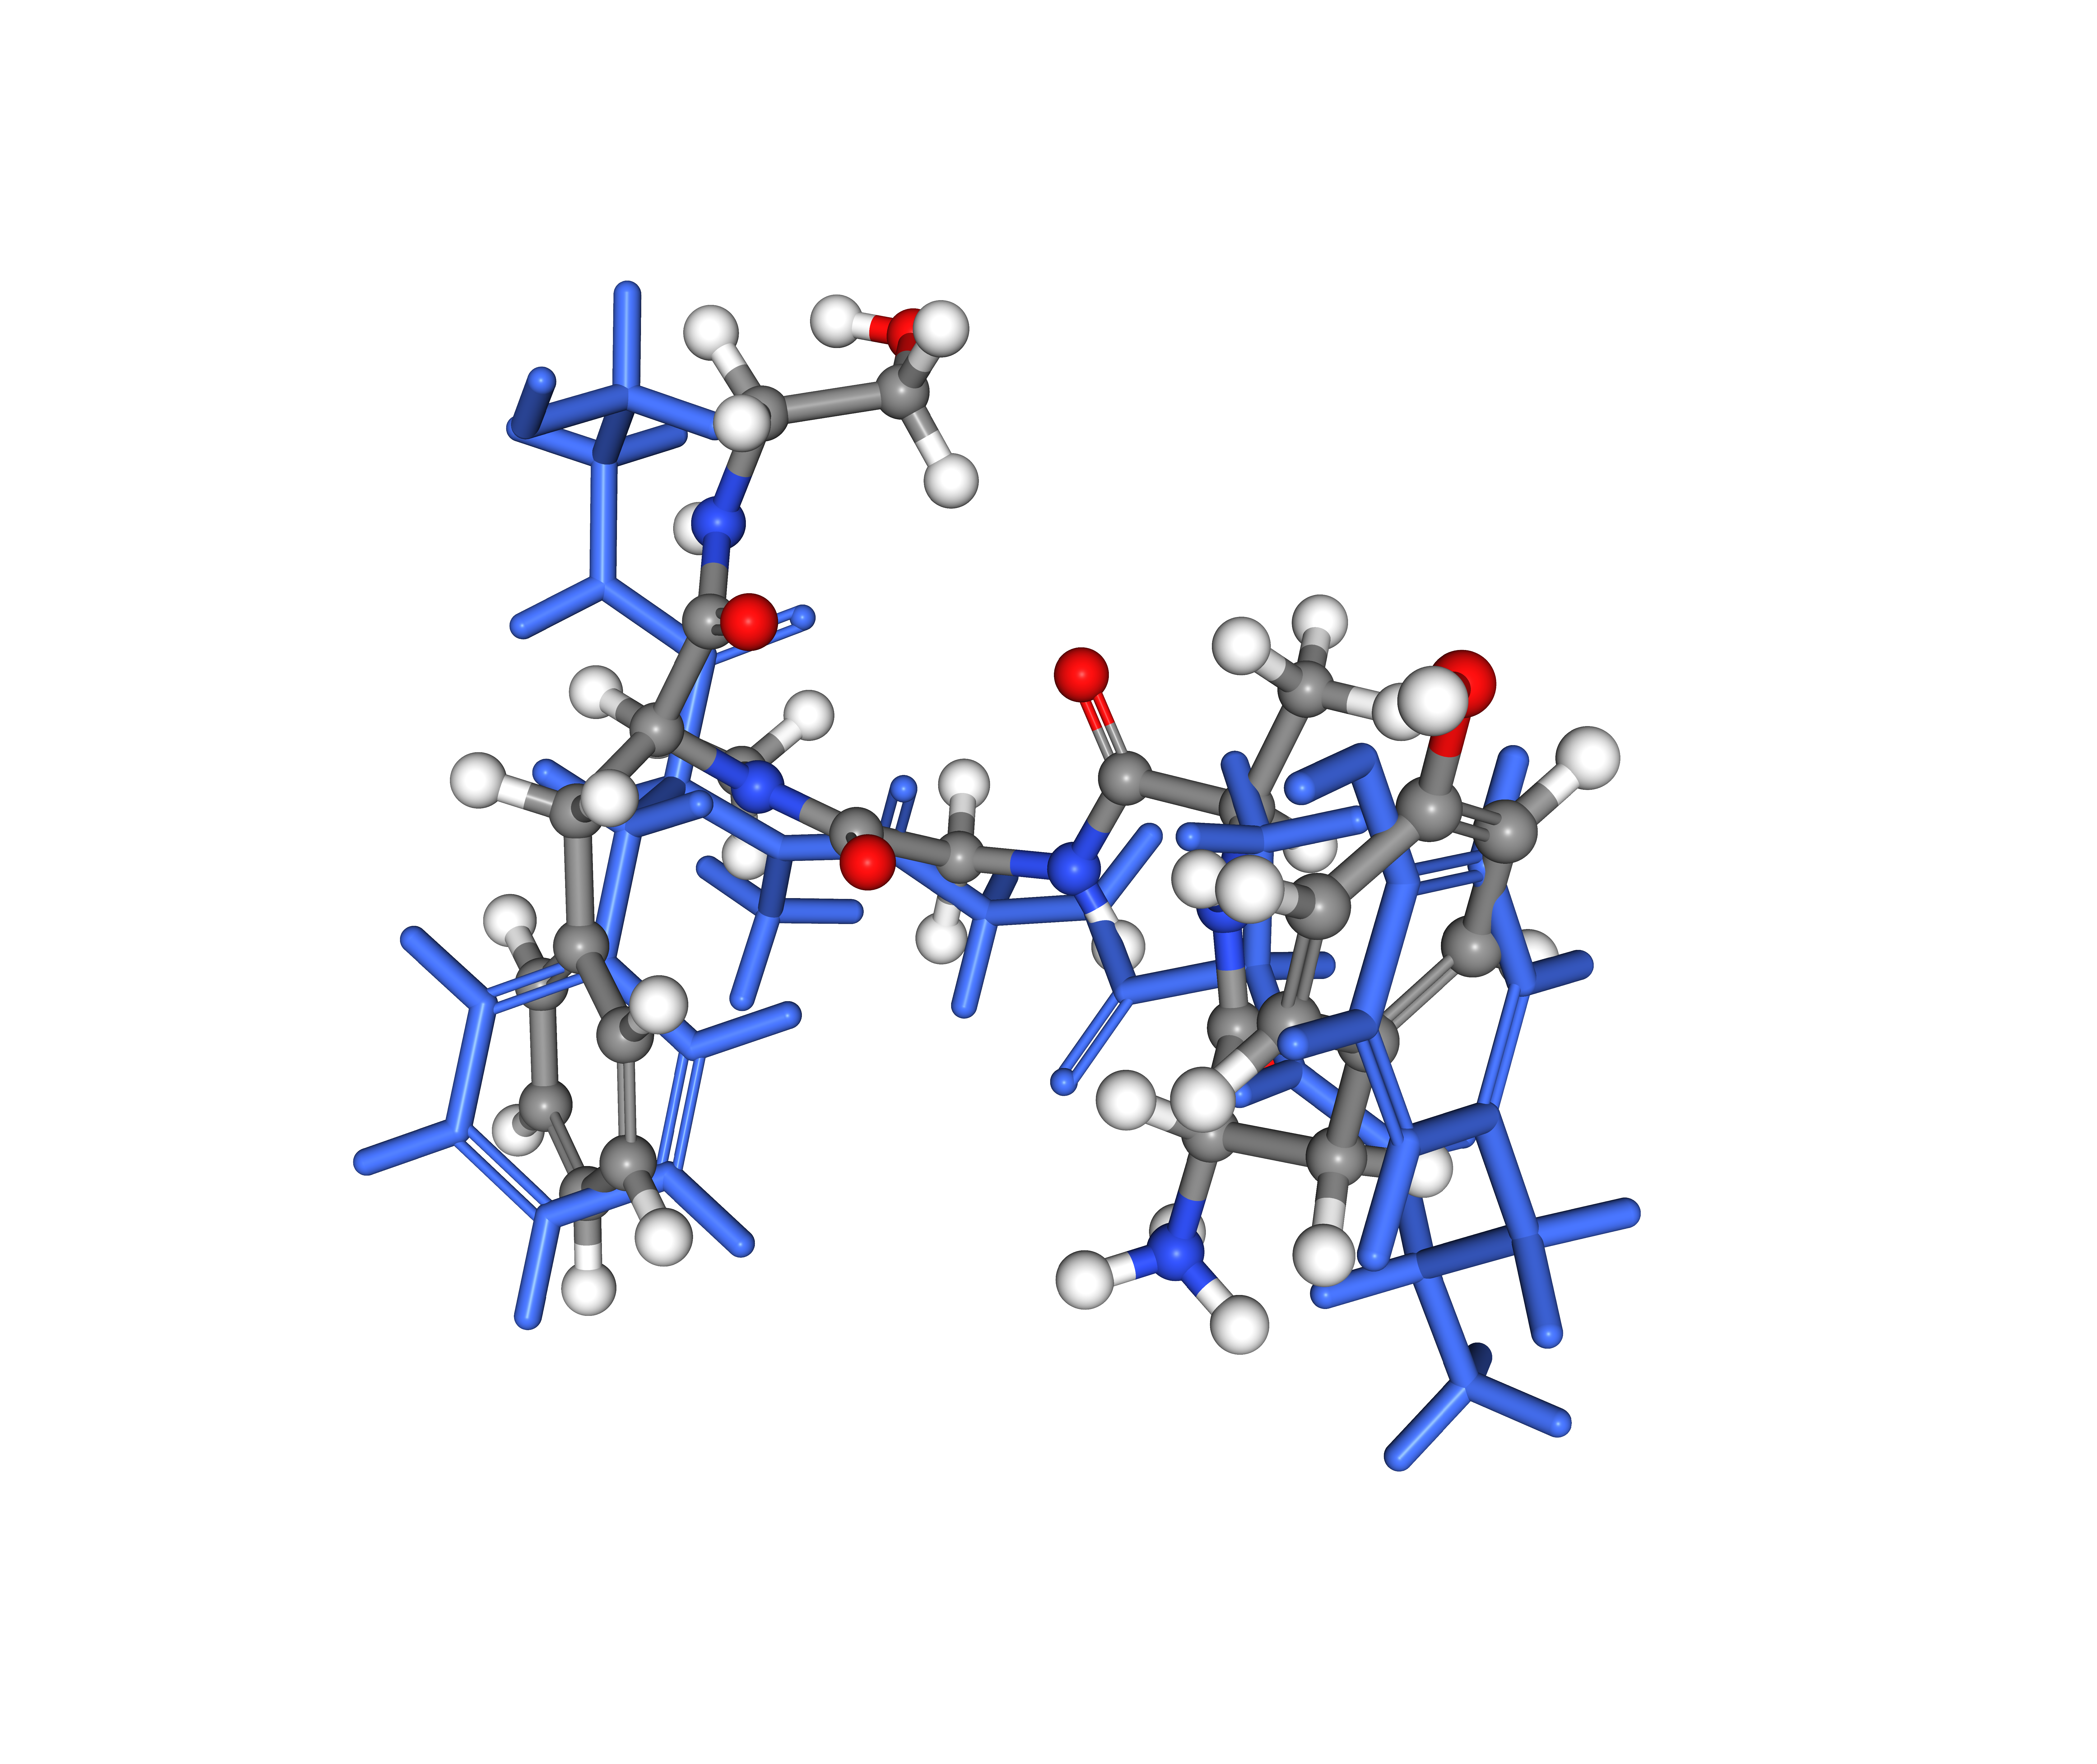
Reference pose displayed in grey by element and first docked pose display in blue
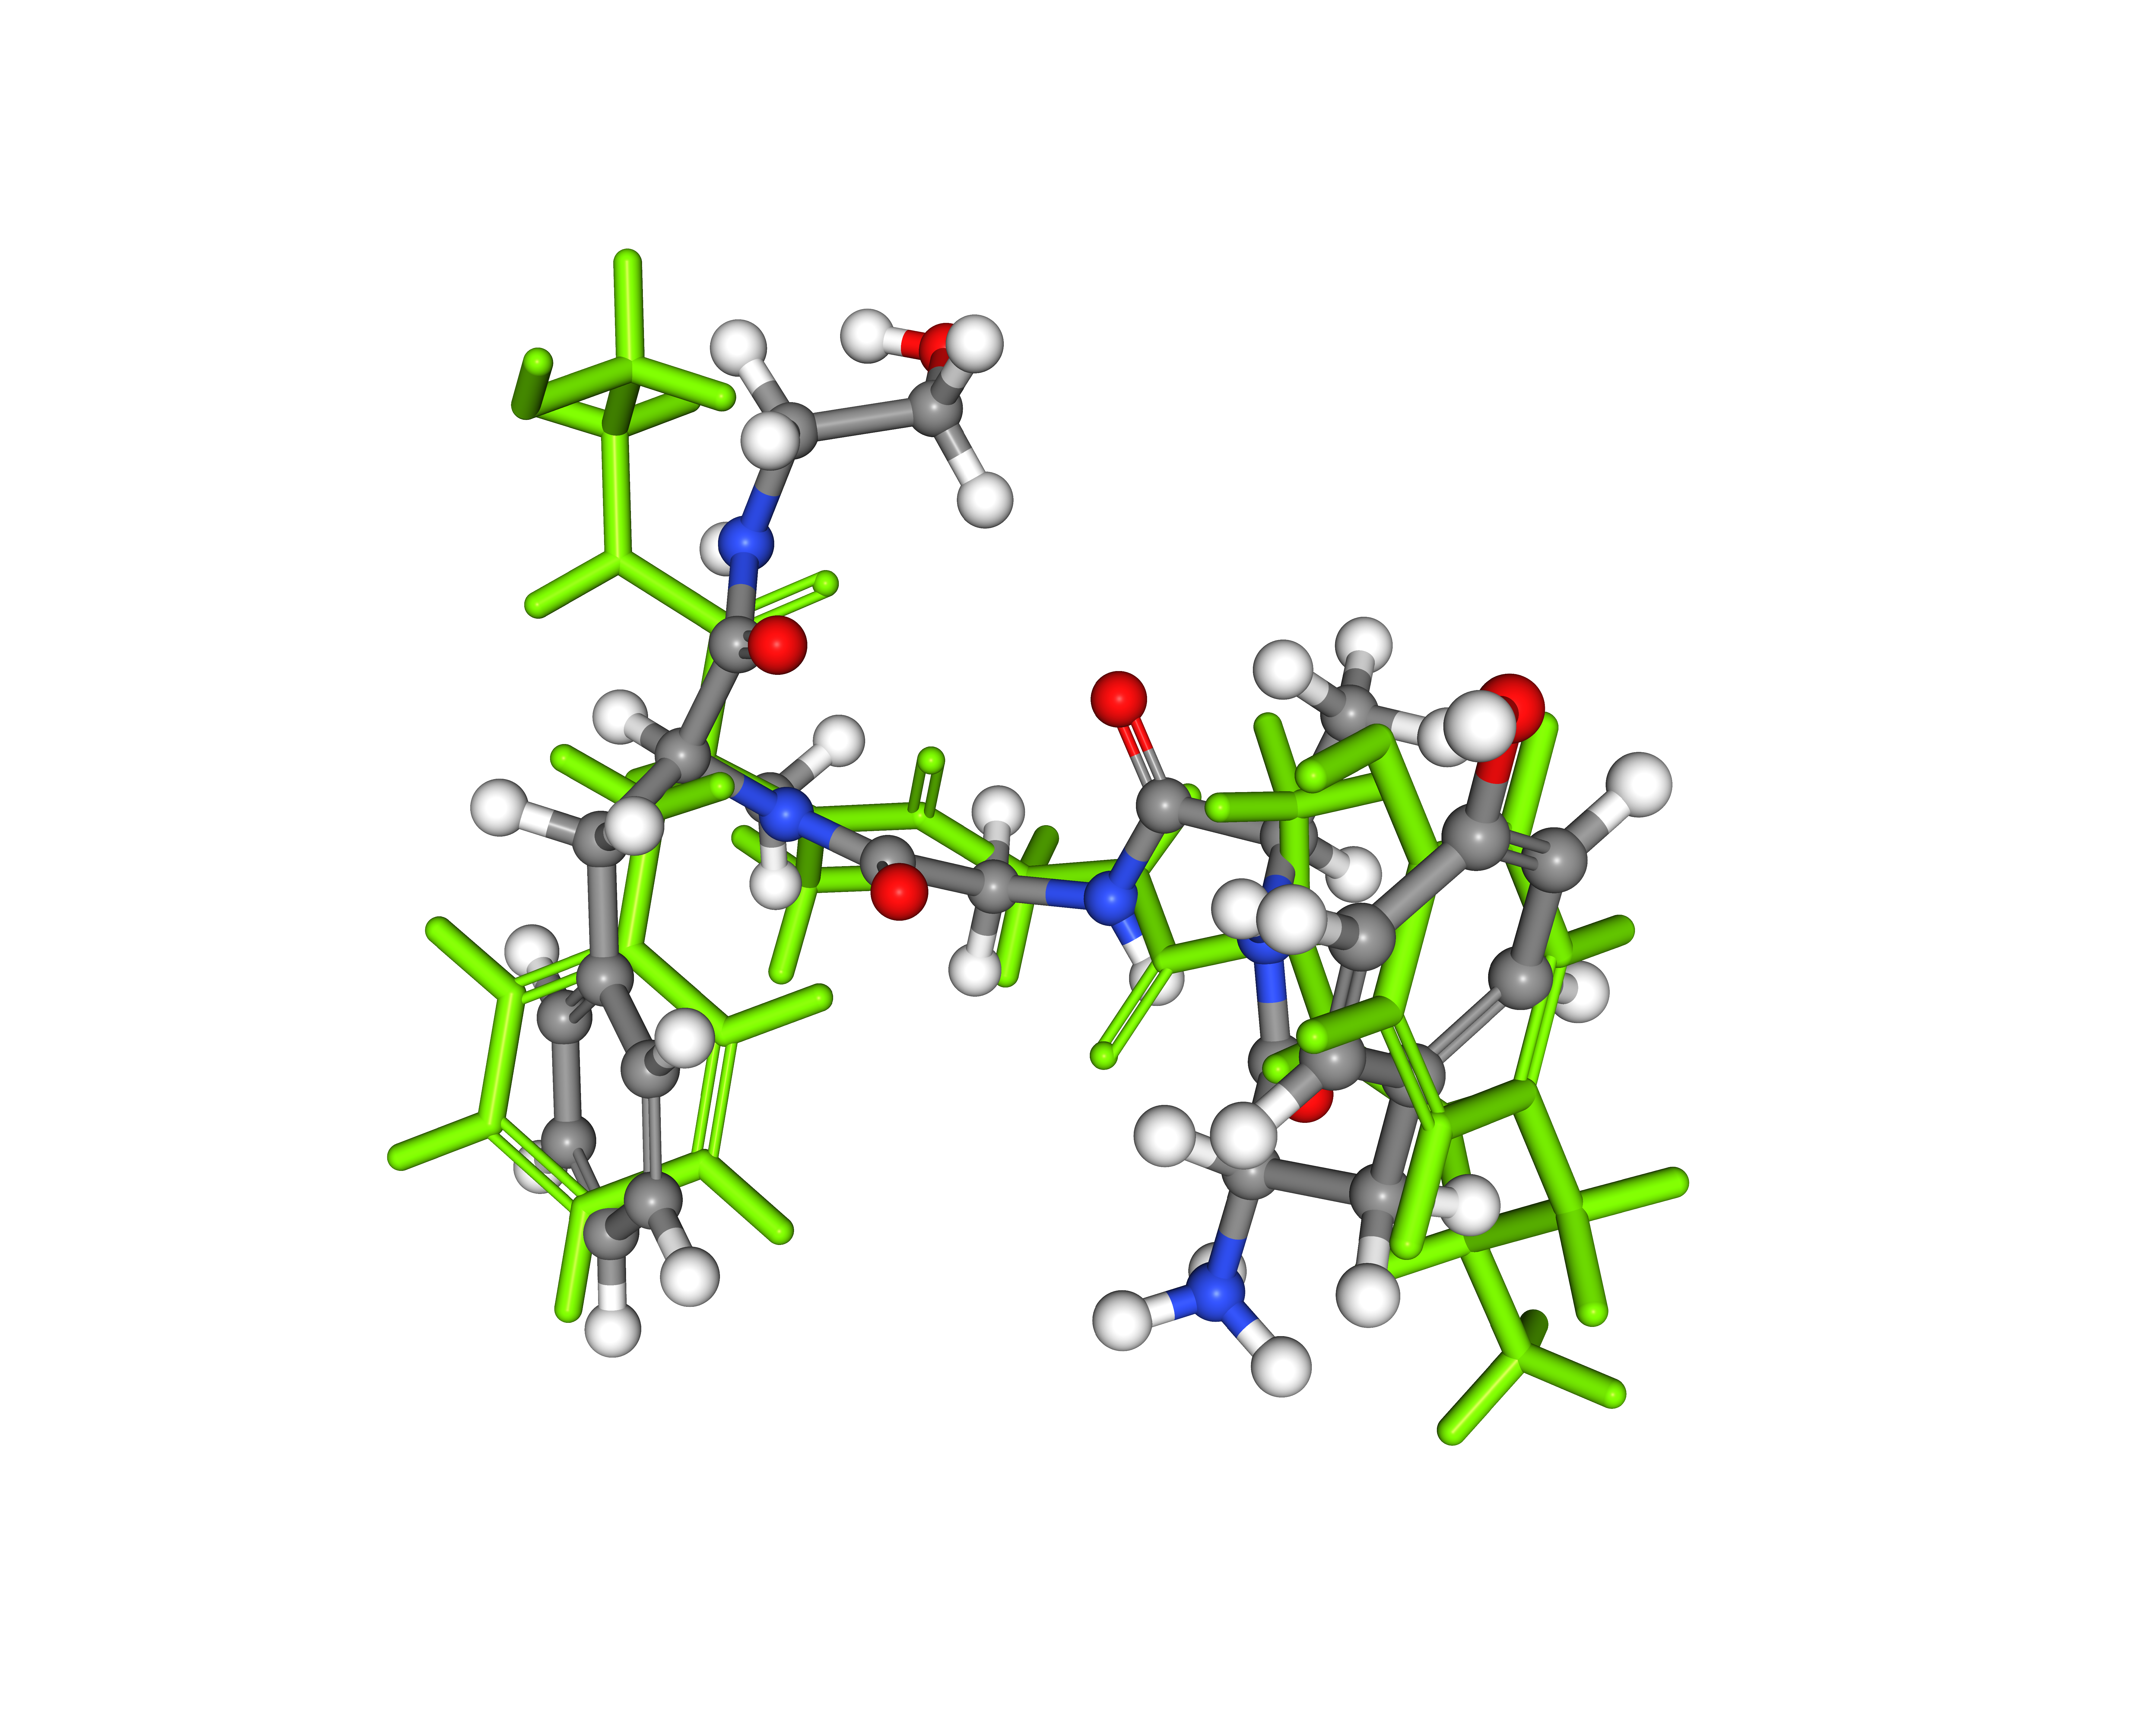
Reference pose displayed in grey by element and fifth docked pose display in green
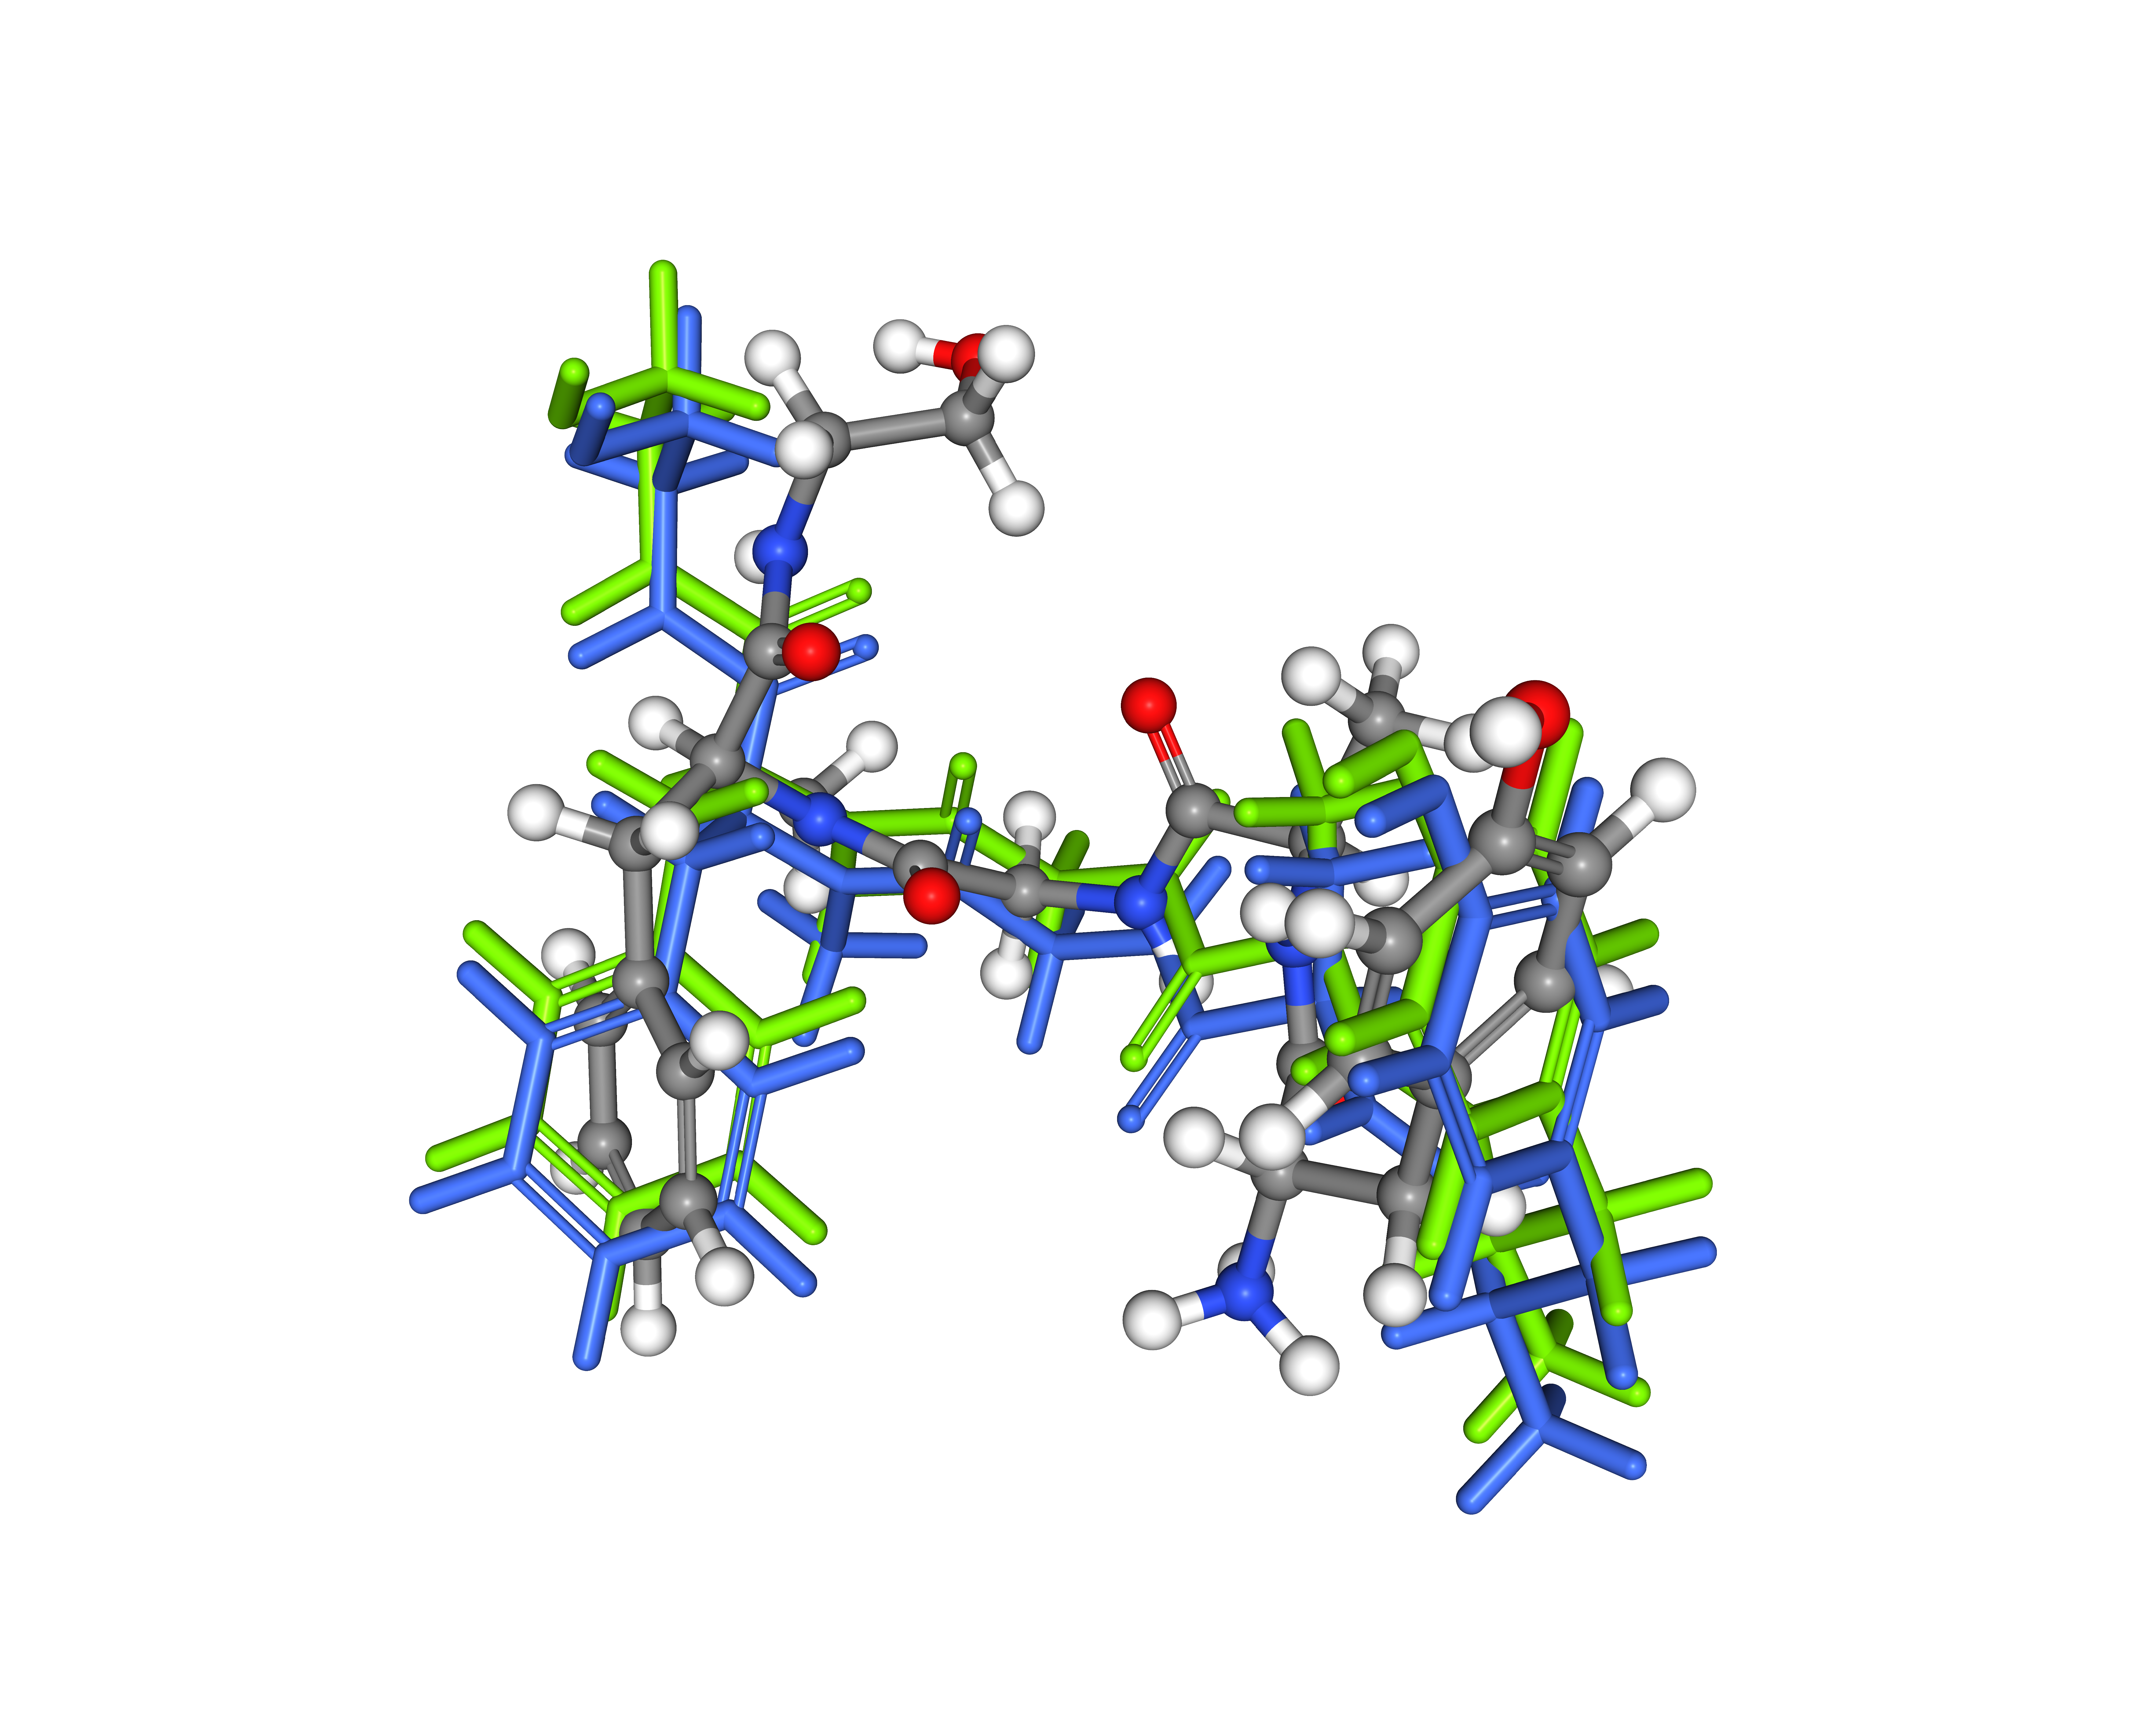
Reference pose displayed in grey by element, first docked pose display in blue, and fifth docked pose display in green